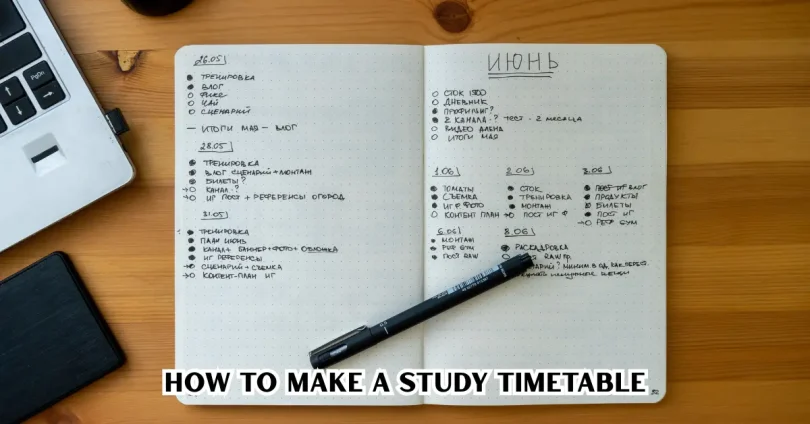

Learning how to make a study timetable is one of the most practical skills a student can develop. A well-planned timetable turns scattered study sessions into a structured routine, helping you cover every subject, avoid last-minute cramming, and manage your time with confidence. This article walks you through a complete, step-by-step process for building a study timetable that fits your goals, energy levels, and daily schedule, along with common mistakes to avoid and tips to make it stick.
What Is a Study Timetable?

A study timetable is a planned schedule that allocates specific time blocks to specific subjects, topics, or tasks. It acts as a roadmap for your study sessions, showing you what to study, when to study it, and for how long.
Unlike a vague to-do list, a timetable adds structure through fixed time slots. This structure reduces decision fatigue because you no longer have to figure out what to study next; the plan already tells you.
Why You Need a How to Make a Study Timetable
A study timetable matters because it turns good intentions into consistent action. Here’s what it actually does for you:
- Reduces procrastination by removing the guesswork around what to study next
- Balances your workload across multiple subjects instead of favoring one
- Prevents burnout by building in rest and recovery time
- Improves retention through spaced, repeated exposure to material
- Lowers exam stress since preparation happens gradually, not all at once
Without a timetable, most students unconsciously spend more time on subjects they enjoy and avoid the ones they find difficult — which usually backfires closer to exams.
Step-by-Step Guide: How to Make a Study Timetable
Building a timetable doesn’t need to be complicated. Follow these steps in order for the best results.
Step 1: List All Your Subjects and Topics
Start by writing down every subject you need to study, along with the specific topics or chapters within each one. Break large subjects into smaller, manageable units. For example, instead of listing “Biology” as one block, list “Cell Structure,” “Genetics,” and “Human Physiology” separately.
This breakdown makes each study session feel achievable rather than overwhelming.
Step 2: Identify Your Available Time
Look honestly at your week. Account for school or college hours, commute time, meals, sleep, family commitments, and any extracurricular activities. Whatever time remains is your realistic study window.
Trying to force study sessions into time you don’t actually have is one of the fastest ways to abandon a timetable.
Step 3: Rank Subjects by Priority and Difficulty
Not all subjects deserve equal time. Rank each subject based on:
- Upcoming exam or deadline dates
- Your personal difficulty level with the topic
- How much content still needs to be covered
Give more time slots to subjects that are both difficult and time-sensitive.
Step 4: Choose a Timetable Format
Pick a format that matches your lifestyle. Common options include:
- Daily timetable – a fresh plan for each day of the week
- Weekly timetable – a repeating structure used across the week
- Hourly blocks – fixed time slots (e.g., 4:00–5:00 PM)
- Task-based blocks – time slots tied to completing a task, not a clock
Digital tools like Google Calendar or Notion work well for reminders, while a printed timetable pinned to a wall keeps it visible and hard to ignore.
Step 5: Assign Time Slots to Subjects
Now place your subjects into your available time slots based on priority. Keep sessions between 30 and 60 minutes, since concentration naturally dips after extended periods without a break.
A helpful approach many students use is the Pomodoro Technique — studying in focused 25-minute intervals followed by a 5-minute break.
Step 6: Build in Breaks and Buffer Time
Breaks aren’t wasted time; they’re part of effective studying. Add short breaks between sessions and one longer break during extended study blocks.
Also leave buffer time in your weekly plan for unexpected delays, revision catch-up, or topics that take longer than expected.
Step 7: Review and Adjust Weekly
A timetable is not fixed in stone. At the end of each week, check what worked and what didn’t. Adjust time slots, swap subjects around, or extend sessions for topics that need more attention.
Students who revise their timetable weekly tend to stick with it far longer than those who create one and never update it.
Sample How to Make a Study Timetable

| Time Slot | Monday | Wednesday | Friday |
| 4:00–4:45 PM | Math (Algebra) | Math (Geometry) | Math (Revision) |
| 4:45–5:00 PM | Break | Break | Break |
| 5:00–5:45 PM | Science (Chemistry) | Science (Physics) | Science (Revision) |
| 5:45–6:00 PM | Break | Break | Break |
| 6:00–6:45 PM | English (Reading) | English (Writing) | Weak Topics Review |
This is just a starting template — adjust the subjects, timing, and frequency to match your own schedule and priorities.
Tips to Make Your How to Make a Study TimetableWork Better
- Study your hardest subject when your energy is highest — usually earlier in the day for most people
- Keep sessions realistic rather than overly ambitious
- Use a timer to stay accountable to your planned blocks
- Track completed sessions with a checklist or planner app for motivation
- Pair similar subjects together (e.g., two language subjects) to stay in the same mental mode
- Set specific goals per session, such as “finish Chapter 3 exercises,” instead of just “study Math”
Common Mistakes to Avoid
Even a well-designed timetable can fail if these mistakes creep in:
- Overloading the schedule with too many hours, leading to burnout
- Ignoring rest and sleep, which reduces overall learning efficiency
- Skipping revision time and only focusing on new material
- Making it too rigid, leaving no room for adjustment
- Copying someone else’s timetable without adapting it to your own pace
- Not tracking progress, so the plan never improves over time
Benefits and Limitations of Using a Study Timetable
Benefits:
- Creates consistency and discipline
- Reduces stress from unclear planning
- Helps balance multiple subjects fairly
- Builds a sense of control and progress
Limitations:
- Requires ongoing discipline to follow
- Can feel restrictive if made too strict
- Needs regular updates to stay useful
- Doesn’t automatically improve study quality — technique still matters
Understanding both sides helps you use a timetable as a flexible tool rather than an inflexible rulebook.
If you’re just starting out, you may also want to check our guide on best study techniques for better focus and retention. Once your timetable is ready, learning how to use the Pomodoro Technique can help you follow it more consistently.
Research on spaced repetition and study habits, such as findings published by the American Psychological Association, supports the idea that consistent, spaced study sessions improve long-term retention compared to last-minute cramming.
If you prefer digital planning tools, platforms like Google Calendar or Notion make it easy to set reminders and adjust your timetable on the go.
Before exams, it’s also worth reading our detailed guide on how to prepare a revision timetable before exams to make your final preparation more structured.
Frequently Asked Questions
1. How many hours should a study timetable include daily?
This depends on your age, workload, and goals. Most students benefit from 2–4 focused hours outside school, split into shorter sessions rather than one long block. Quality and consistency matter more than total hours, so avoid overloading your schedule beyond what you can realistically sustain.
2. What is the best time to study according to a timetable?
There’s no single “best” time — it depends on when your concentration peaks. Many people focus better in the morning or early evening. How to Make a Study Timetable Test different time slots for a week or two, track your focus levels, and build your timetable around the hours when you naturally concentrate best.
3. Should I follow the same timetable every day?
Not necessarily. A repeating weekly structure works well for consistency, but you can adjust daily slots based on upcoming tests, assignment deadlines, or energy levels. How to Make a Study Timetable The key is keeping a stable framework while allowing flexibility for changing priorities.
4. How do I stick to my study timetable without losing motivation?
Start with realistic, achievable time blocks rather than an overly ambitious schedule. How to Make a Study Timetable Track completed sessions, reward small milestones, and review your timetable weekly to keep it relevant. A timetable that feels achievable is far easier to stick to than one that feels like a burden.
5. Can a study timetable help reduce exam stress?
Yes. A timetable spreads preparation across days and weeks instead of leaving everything for the last minute. This gradual approach improves retention, reduces panic before exams, and gives you clear visibility into what’s already covered and what still needs attention.
Conclusion
Learning how to make a study timetable comes down to a few core principles: list your subjects, assess your real available time, prioritize based on difficulty and deadlines, and build in breaks along with regular reviews. A good timetable isn’t about cramming every hour with study — it’s about creating a sustainable rhythm that keeps you consistent without burning out.
As a next step, take 15 minutes today to draft your first weekly timetable using the sample structure above. Adjust it after one week based on what actually worked for you, and keep refining it from there.